The safest nail enhancement for weak nails isn’t a specific product, but a specific professional.
- Chemical safety, application technique, and sanitation protocols are far more critical than the choice between gel and acrylic.
- Common problems like lifting, breakage, and allergies are almost always caused by improper procedure, not the product itself.
Recommendation: Shift your focus from choosing a material to learning how to vet a technician’s expertise and safety standards—this guide shows you how.
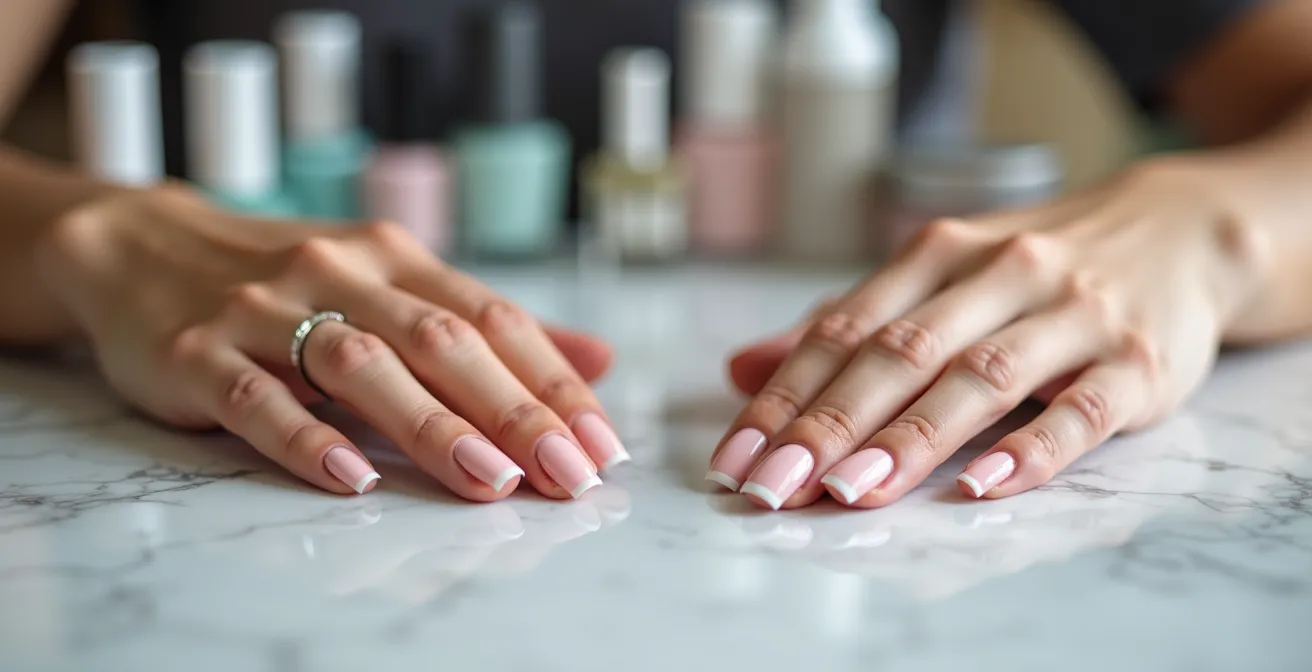
When you have weak, brittle, or damaged nails, the salon can feel like a minefield. The debate between gel and acrylic enhancements becomes a high-stakes decision, filled with conflicting advice. One person swears by the flexibility of gel, while another praises the formidable strength of acrylic. This debate, however, misses the most critical point. The safety and health of your nails depend less on the product you choose and more on the training, precision, and chemical literacy of the person applying it.
The truth is, both gel and acrylic can be applied safely to fortify weak nails, and both can cause significant damage when handled incorrectly. The real risk lies not in the material, but in the method. It’s in the unseen details: the quality of the chemical monomers, the degree of tool sterilization, the precise preparation of the nail plate, and the structural engineering of the enhancement itself. An amazing acrylic application from a master technician will always be superior to a sloppy gel manicure from an untrained individual, and vice versa.
This guide will not give you a simple « choose this, not that » answer. Instead, it will empower you with the knowledge to become a discerning client. You will learn to identify the non-negotiable signs of a safe, professional service. We will move beyond the surface-level gel versus acrylic discussion and delve into what truly protects and strengthens your nails: the technician’s unwavering commitment to health and structural integrity.
This article provides a detailed roadmap for assessing the critical safety and technical aspects of any nail enhancement service. By understanding these key areas, you can confidently choose a technician who prioritizes the long-term health of your nails, regardless of the product used.
Summary: A Client’s Guide to Nail Enhancement Safety and Quality
- The Risk of Developing a Gel Allergy from Home Kits
- How to Trim Cuticles Without Causing Infection?
- MMA vs EMA Monomer: How to Smell the Difference?
- How to Prep the Nail Plate to Stop Lifting After 3 Days?
- When to Get a Fill to Maintain Structural Integrity?
- How to Keep a Skin Diary to Identify Your Specific Triggers?
- The Internal Theft Signs That Most Managers Miss
- How to Become a Licensed Esthetician: The Reality of the Training?
The Risk of Developing a Gel Allergy from Home Kits
The rise of DIY gel kits has made salon-style nails accessible, but it has also led to a spike in allergic reactions. The primary culprits are acrylates, chemicals found in gel polish that can cause sensitization through repeated skin contact. This occurs when uncured or under-cured gel touches the skin around the nail. Once you become sensitized, you can develop contact dermatitis—an itchy, red, and sometimes blistering rash. This allergy is often permanent and can have cross-reactivity implications for certain dental and medical procedures that use similar compounds.
Many consumers look for « HEMA-free » products, believing them to be completely safe. However, this is a dangerous oversimplification. As nail chemistry experts confirm, HEMA-free formulas still contain potential allergens like IBOA and HPMA. The real key to safety isn’t a magic formula but proper application technique. Professionals are trained to apply gel with precision, avoiding all contact with the skin. They use specialized barrier techniques and, most importantly, ensure the gel is fully cured under a lamp with the correct wavelength and power for that specific product. Flash curing or using an incompatible lamp leaves the product active and allergenic.
Developing an allergy is not a sign that « gel is bad for you, » but a sign of improper exposure. A trained professional understands this risk and takes meticulous steps to prevent it, something that is nearly impossible to replicate at home without extensive training. The risk isn’t the product on the nail; it’s the uncured product on your skin.
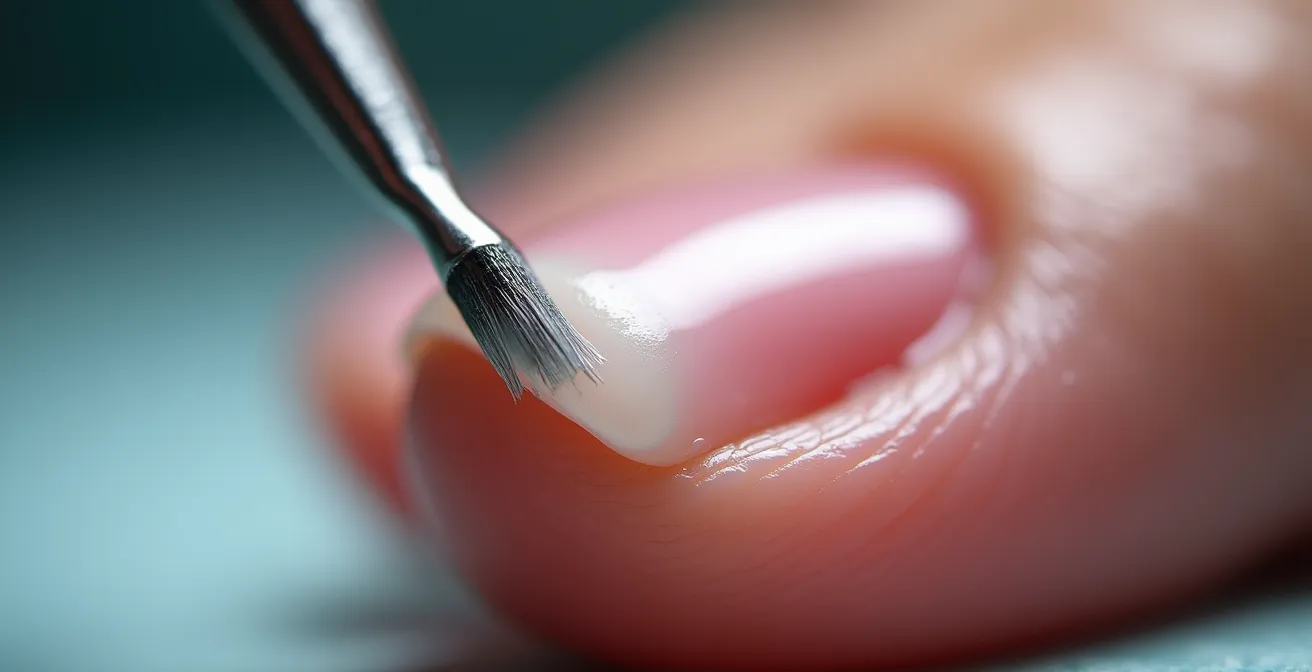
How to Trim Cuticles Without Causing Infection?
Proper cuticle care is a cornerstone of a safe manicure, yet it’s one of the most misunderstood and poorly executed procedures. The key is distinguishing between the true cuticle (dead, non-living tissue on the nail plate) and the eponychium (the living fold of skin at the base of the nail). The eponychium serves as a vital seal, protecting the nail matrix—where new nail cells grow—from bacteria and infection. Aggressively cutting or filing this living tissue is a direct invitation for infection.
A properly trained technician will never cut the living eponychium. Instead, they will gently push it back and carefully remove only the dead cuticle tissue that is stuck to the nail plate. Some advanced techniques, like the « Russian Manicure, » use an e-file with precision bits to do this. While it can produce a flawless look, this method is extremely high-risk in untrained hands. As nail professionals are taught, if you file away too much and damage the eponychium, it can lead to a serious bacterial infection and permanent damage to the nail matrix. The skill lies in that microscopic distinction between living and dead tissue.
Equally important is the salon’s sterilization protocol. A jar of blue Barbicide is the bare minimum, but it doesn’t sterilize—it only disinfects. For tools that can break the skin, like cuticle nippers or e-file bits, you should look for a higher standard of hygiene. Medical-grade sterilization is the gold standard for client safety.
| Sterilization Level | Method | What to Look For |
|---|---|---|
| Basic (Minimum) | Barbicide Solution | Blue liquid, tools soaking 10+ minutes |
| Professional | UV Sterilizer Cabinet | Tools in closed UV chamber between clients |
| Medical-Grade (Gold Standard) | Autoclave Sterilization | Sealed pouches opened per client, dated sterilization indicators |
MMA vs EMA Monomer: How to Smell the Difference?
When it comes to acrylics, not all are created equal. The liquid component, called the monomer, is crucial. Reputable salons exclusively use Ethyl Methacrylate (EMA), which is designed for cosmetic use. However, some discount salons use Methyl Methacrylate (MMA), a dental acrylic that is banned for use in nail services in many places for good reason. It’s a major red flag for weak nails.
MMA is notoriously difficult to remove. It doesn’t dissolve properly in acetone, forcing technicians to pry or aggressively file it off, which can rip layers from your already weak natural nail. Furthermore, according to professional safety standards, MMA creates rigid, inflexible structures that can shatter upon impact, taking a chunk of your natural nail with them. EMA, by contrast, creates a stronger, more flexible enhancement that can be soaked off safely.
So, how can you tell the difference? First, trust your nose. MMA has an unusually strong, sharp, and fruity smell, very distinct from the more subtle scent of EMA. Second, look at the price. As one industry expert noted in the Professional Nail Safety Guidelines:
The extremely low price of MMA allows for unsustainably cheap manicures, turning a low price point from a bargain into a major warning sign.
– Industry Safety Expert, Professional Nail Safety Guidelines
Finally, observe the removal process. If your acrylics require excessive force or an electric file to be ground down completely, it’s a strong indicator that MMA was used. A salon that prioritizes nail health will always use EMA, even if it costs more.
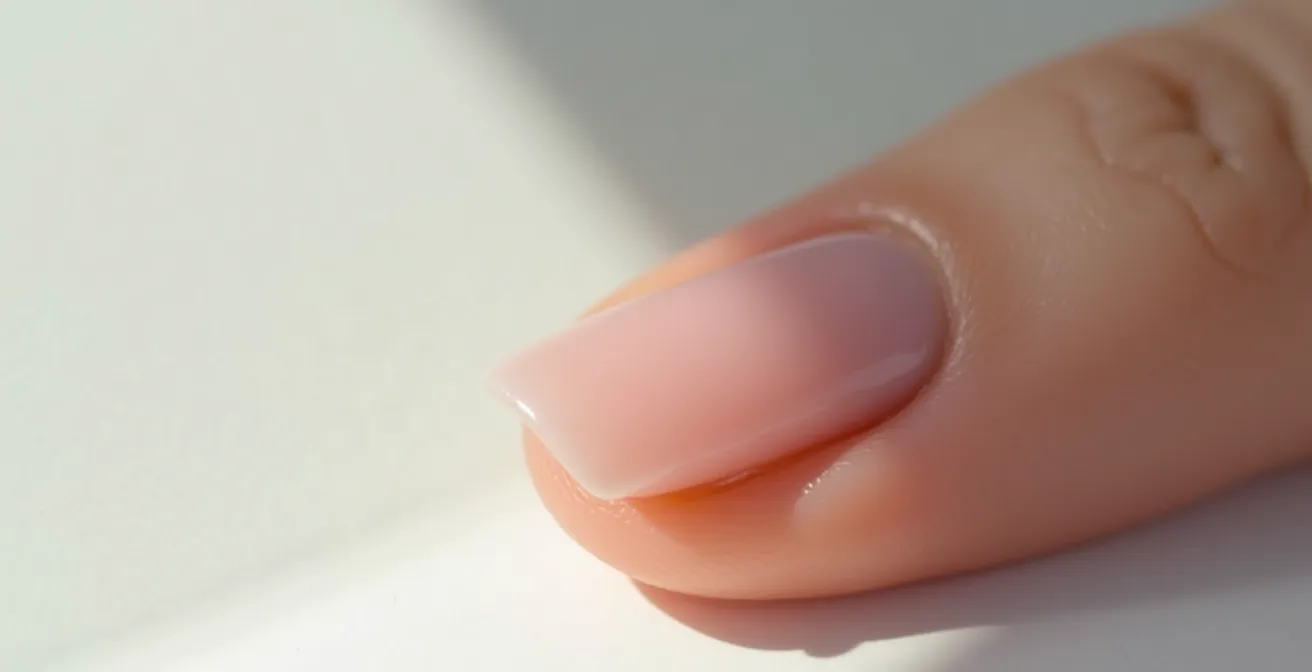
How to Prep the Nail Plate to Stop Lifting After 3 Days?
Premature lifting—when the enhancement starts to peel away from the natural nail after just a few days—is a common frustration, especially for those with weak or oily nails. This is almost never a fault of the gel or acrylic product itself. It is a failure of nail preparation. Proper prep is a multi-step chemical process designed to create the perfect surface for adhesion. When steps are skipped, the bond fails.
A meticulous technician will follow a strict protocol. It begins with gentle, not aggressive, etching of the nail plate with a high-grit file (180 or higher) to create texture without thinning the nail. The next crucial steps are chemical: applying a dehydrator to remove all surface oils and moisture, followed by a pH-balancing cleanser. This ensures the nail plate is at the optimal acidity for bonding. Finally, a primer is applied sparingly. The choice of primer—acid-based for oily nails or non-acid for sensitive nails—is another mark of an expert technician who customizes the service.
When lifting occurs, its location can tell you exactly which step failed. A professional can diagnose the problem by observing the pattern of the lift, allowing them to correct their technique on the next service.
Your Action Plan: The Professional Adhesion Protocol
- Gentle Etching: Ensure the technician uses a fine-grit file (180-grit or higher) to create texture without causing thinning or « rings of fire. »
- Dehydration: Watch for the application of a dehydrator product to remove surface oils and moisture, which are the primary enemies of adhesion.
- pH Balancing: A professional will often use a pH-balancing agent after dehydration to optimize the nail’s surface chemistry for bonding.
- Primer Selection: Ask your technician what type of primer they use (non-acid or acid-based) and why they chose it for your nail type.
- Precise Application: Primer should be applied thinly and only to the nail plate, avoiding any contact with the surrounding skin to prevent irritation and ensure a proper bond.
By understanding this process, you can see that lifting isn’t a random event but a direct result of a flawed preparation. A great technician doesn’t just apply product; they are a chemist ensuring a perfect bond at a molecular level.
When to Get a Fill to Maintain Structural Integrity?
For those with weak nails, enhancements are not just for aesthetics; they act as an exoskeleton, providing support and protection. However, this support system requires regular maintenance to remain effective and safe. As your nail grows, the balance of the enhancement shifts. The apex—the thickest, highest point of the enhancement, strategically placed to absorb stress—moves forward. This shift compromises the nail’s structural integrity, creating a weak point at the back edge that is prone to painful breaks.
This is why timely fills (or « rebalancing ») are not an upsell; they are a structural necessity. During a fill, a technician doesn’t just add product to the growth area. They file down the old product to rebuild and reposition the apex back to its correct, stress-absorbing position. For individuals with healthy, strong nails, a fill every 3-4 weeks might suffice. However, professional nail technicians recommend that 2-3 week fills are essential for weak nails to prevent leverage-induced breaks at the stress area. Acrylic, in particular, can be beneficial here, as it can act as a cast to train and redirect the growth of a damaged nail.
Delaying a fill to save money is a false economy. The cost of a painful break and potential nail bed damage far outweighs the price of regular maintenance. A well-maintained enhancement is a protective shield; a poorly maintained one becomes a liability, putting your weak nails at even greater risk.
How to Keep a Skin Diary to Identify Your Specific Triggers?
If you experience itching, redness, or discomfort after nail services, pinpointing the cause can be difficult. Is it the gel polish, the acrylic monomer, the prep products, or even the cleansing wipe? A skin diary is your single most powerful tool for becoming a detective for your own health. It provides concrete data to help you and your dermatologist identify specific triggers.
Your diary should be meticulous. For every salon visit, log the date, salon name, and the technician who performed the service. Critically, you must request and record the specific brands and product lines used for every step—from the dehydrator to the top coat. A professional technician should have this information readily available. Note application details like how long your hands were under the UV lamp or the intensity of the e-filing. This level of detail is crucial for identifying patterns.
Next, track your body’s response. Document any reaction with time-stamped photos. Note the timing (was it immediate, or did it appear 24-48 hours later?) and the type. A contact reaction will typically appear only on the fingers and skin that came into direct contact with a product. In contrast, an airborne reaction, often caused by dust from filing or vapors, might appear on the face, neck, or eyelids. This distinction is vital for diagnosis. Bringing this detailed log to a dermatologist or allergist can accelerate a diagnosis and help you avoid harmful ingredients in the future.
Key Takeaways
- Your primary concern should not be gel vs. acrylic, but the technician’s skill and safety protocols.
- Unsafe practices like cutting living tissue (eponychium) and using MMA monomer are major red flags that you can learn to spot.
- Proper nail preparation and timely fills are non-negotiable for maintaining the structural integrity of enhancements on weak nails.
The Internal Theft Signs That Most Managers Miss
In a salon context, « internal theft » isn’t about stolen products; it’s about the theft of service quality and your nail’s integrity. This happens when technicians take shortcuts to save time and money, ultimately robbing you of a safe and lasting manicure. A low price point is often the biggest indicator of these hidden costs.
One of the most common forms of this « theft » is aggressive prep and removal. For example, a technician might use a coarse, low-grit e-file bit to rip off an old set of acrylics quickly, rather than taking the time to soak them properly. This over-filing is what causes the infamous « ring of fire »—a red, painful, and thinned-out band on the natural nail. This damage is often wrongly blamed on the acrylic product itself. As one expert clarifies, « It’s a myth that acrylic is ‘bad’ for the nails… it’s usually the rough prep and removal that is damaging. »
A commitment to quality takes time, and time is money. A technician who prioritizes your nail health will spend extra minutes on gentle prep, precise application, and careful finishing. As a professional nail educator states, « Quality artistry and hygiene take time – shortcuts that ‘steal’ minutes from service time actually rob you of your nail integrity. » When you pay for a quality service, you are not just paying for polish; you are paying for the technician’s time, expertise, and refusal to compromise your nail health for speed.
How to Become a Licensed Esthetician: The Reality of the Training?
As a client, understanding what a « license » truly means is critical for vetting a technician. While a license is a legal requirement, it often represents the bare minimum for safe practice. According to industry education standards, basic nail tech licenses focus primarily on sanitation and disinfection, with surprisingly minimal training in advanced techniques, nail anatomy, or chemical composition.
The real expertise comes from post-licensing, continuing education. This is where technicians learn the skills that truly protect weak nails: advanced e-filing techniques, structural balancing, product-specific chemistry, and managing client allergies. A great technician invests continuously in their education, earning certifications from reputable brands (like CND, Young Nails, etc.) and taking classes from industry-leading educators. This advanced training is what separates a basic « manicurist » from a true « nail professional. »
Therefore, you should not be shy about interviewing your technician. Their response to your questions will reveal their commitment to their craft and your safety. A passionate professional will be proud to discuss their advanced training. Here are some smart questions to ask:
- What specific product lines do you specialize in and why did you choose them?
- I have weak/damaged nails. What advanced training or certifications do you have for this condition?
- How do you stay updated on new safety protocols and application techniques?
- What is your protocol if a client develops a skin reaction or sensitivity?
A technician’s license gets them in the door. Their continued education is what makes them a trusted expert for your weak nails.
Frequently Asked Questions on Gel vs Acrylic
How do I differentiate contact vs airborne reactions?
The main cause of allergies to nail products is often improper use by the person applying them. All nail products are made up of chemicals and need to be applied properly to reduce risk. Contact reactions typically appear only on the fingers or skin that directly touched an uncured product. Airborne reactions, caused by dust or vapors, can affect other areas like the face, neck, and eyelids, which were exposed to the air in the salon but not direct product contact.
What information should I bring to my dermatologist?
Bring your complete skin diary. This should include the names of products used (ask your technician), time-stamped photos of any reactions, a log of the timing and pattern of your symptoms, and a list of all salons you have visited in the last six months. The more data you provide, the easier a diagnosis will be.
Can I develop an allergy even after years of gel/acrylic use?
Yes. Sensitization is a cumulative process. You can develop an allergy after years of exposure without any prior issues. This often happens due to repeated, low-level exposure to uncured product on the skin, which can eventually cross a threshold and trigger a full-blown allergic response. This is why consistent, proper application technique is crucial at every single appointment.